CHROME NAIL DESIGN IDEAS
POPULAR CATEGORIES
LATEST BLOGS
What Are Chrome Nails?
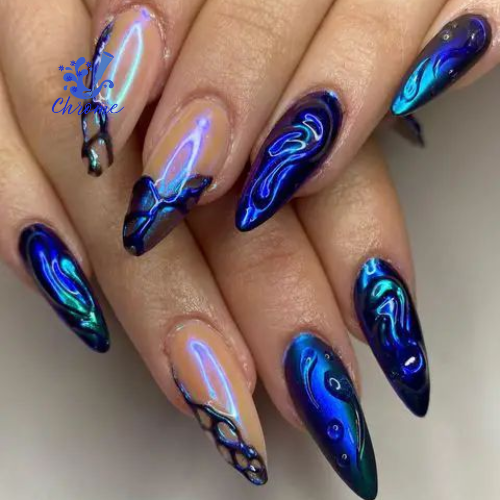
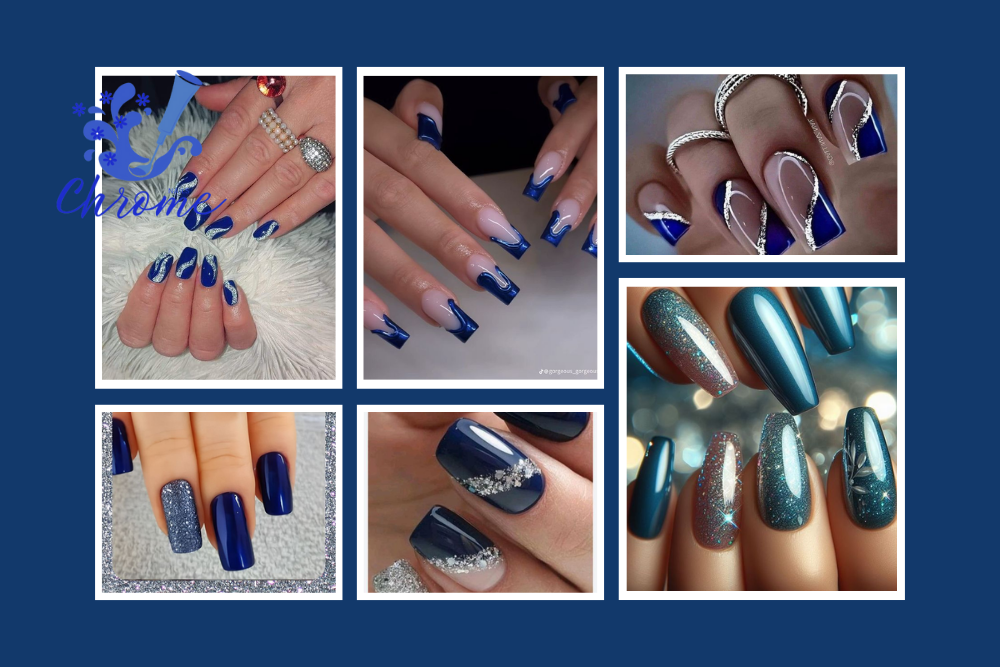
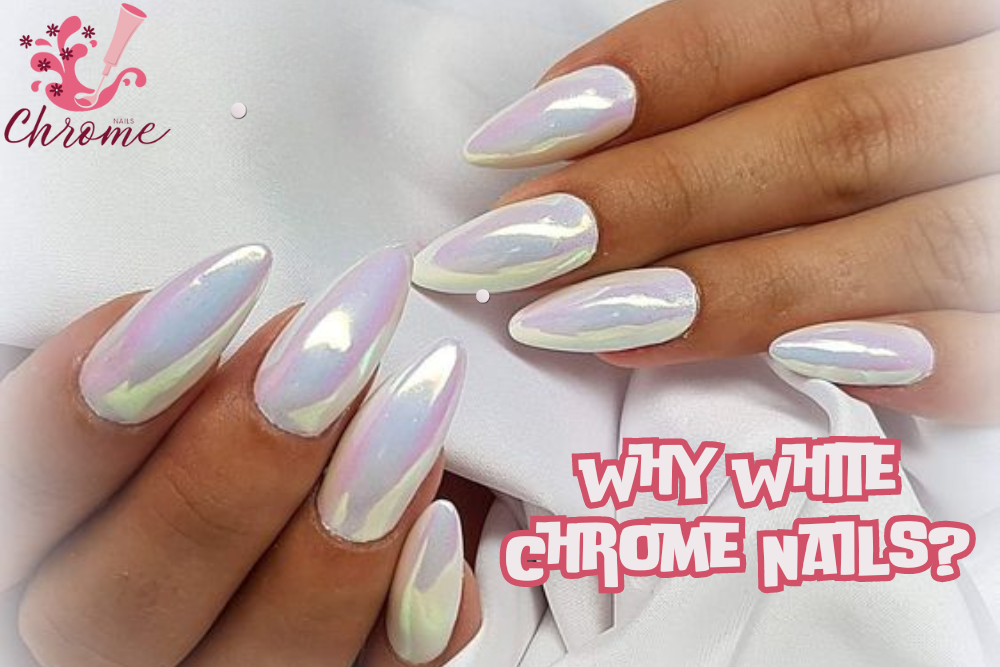
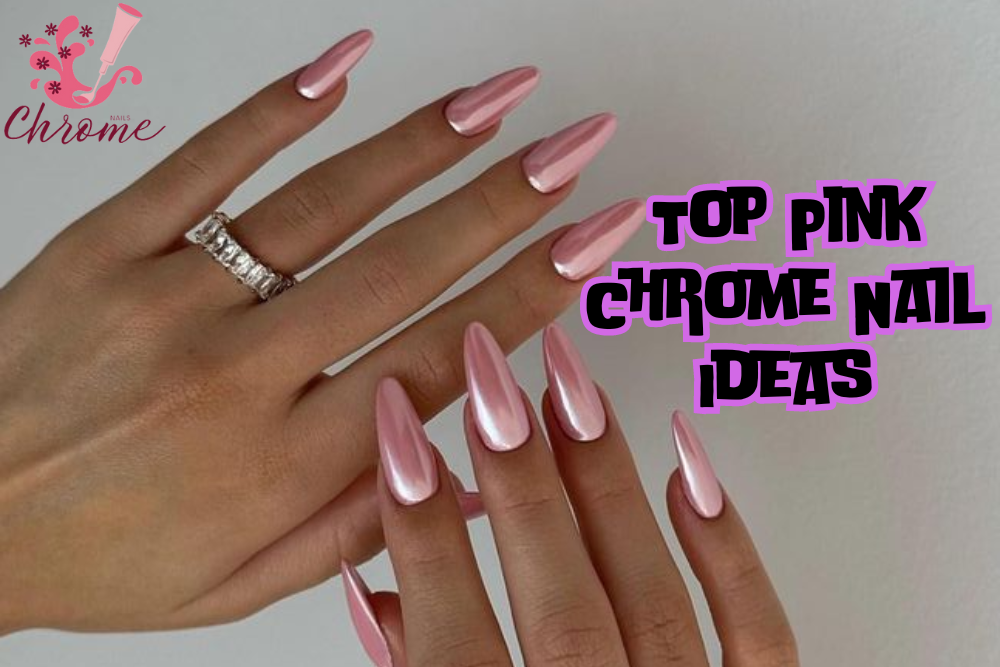
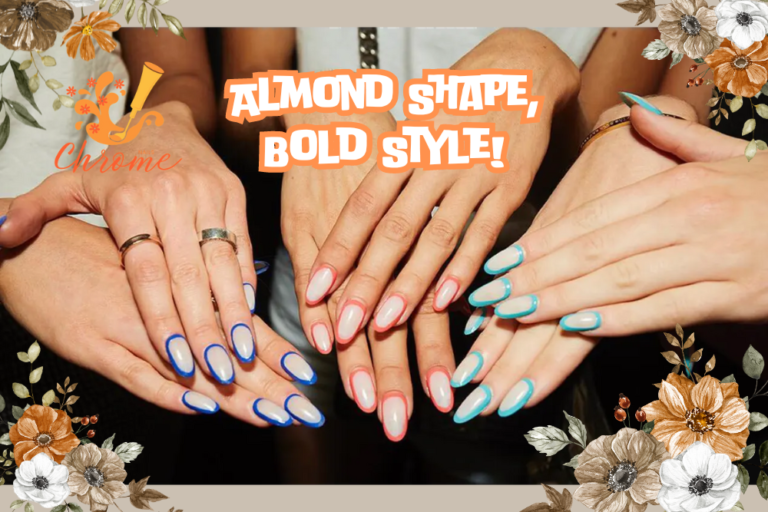
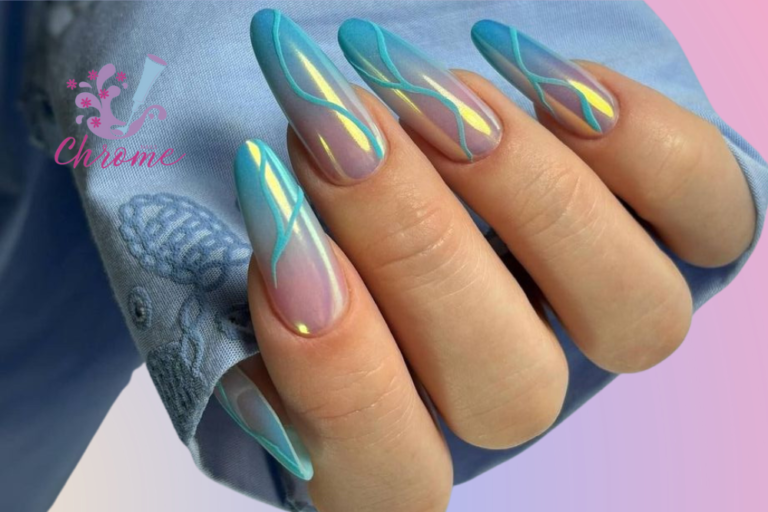
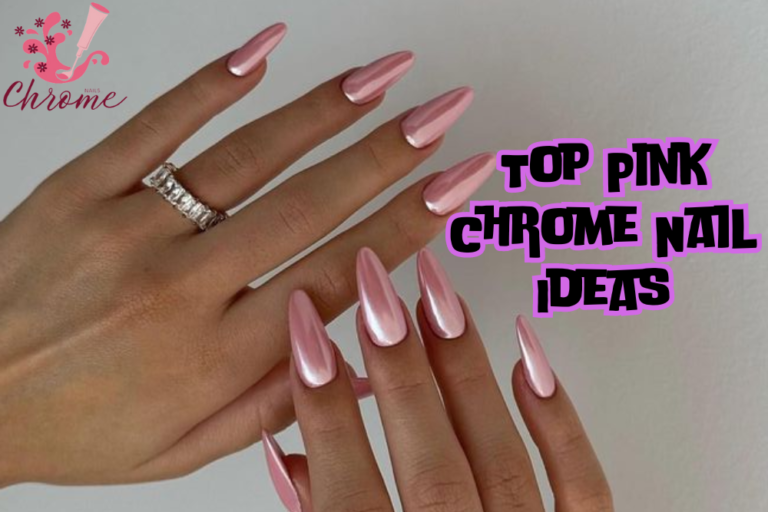
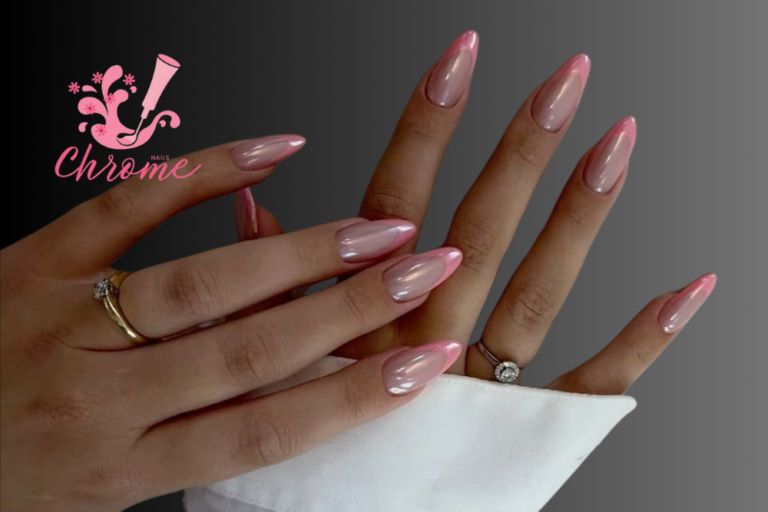
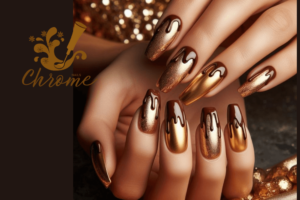
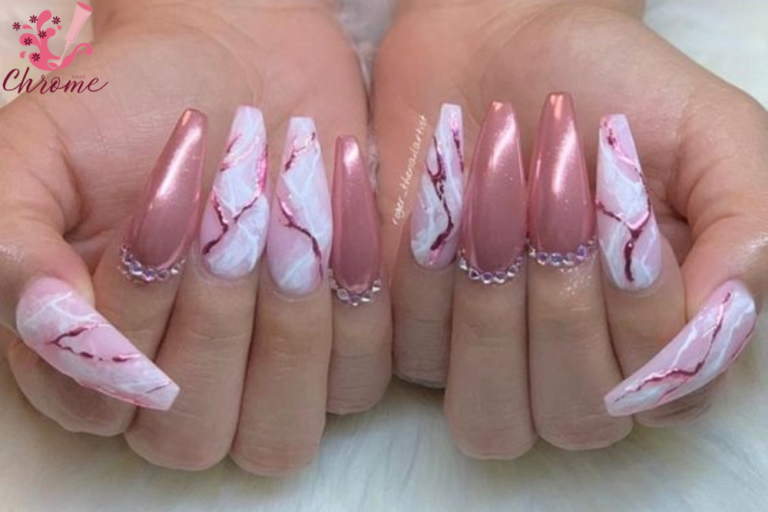
Chrome nails are a stunning and trendy manicure style that creates a reflective, metallic finish on the nails, mimicking the appearance of a mirror or polished metal. This look is achieved by applying a special chrome powder to a gel polish, which is then sealed with a top coat. The result is a smooth, shiny, and eye-catching design that stands out in any setting.
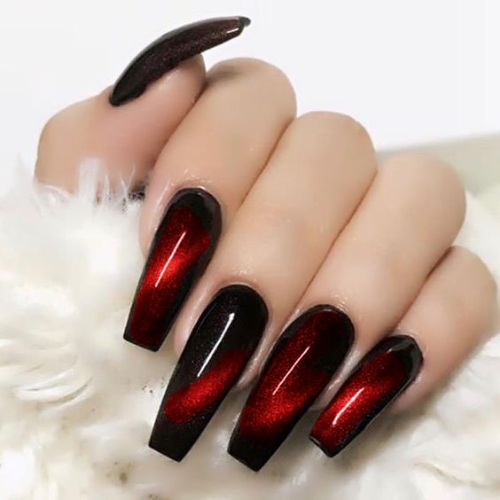
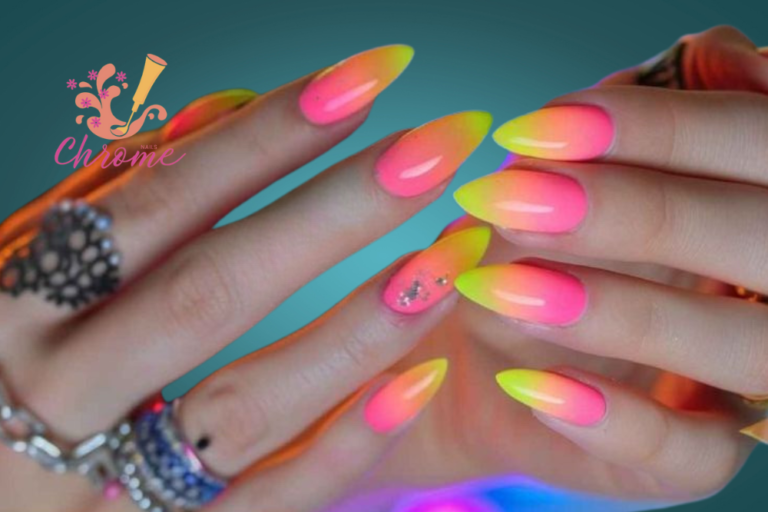
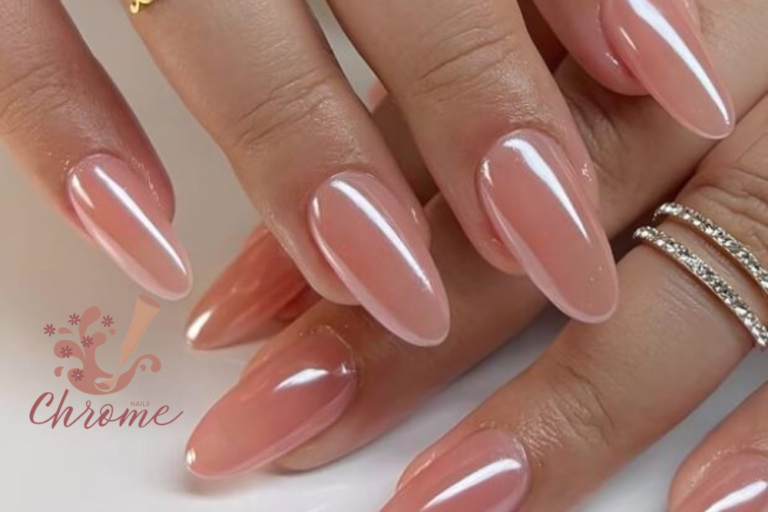
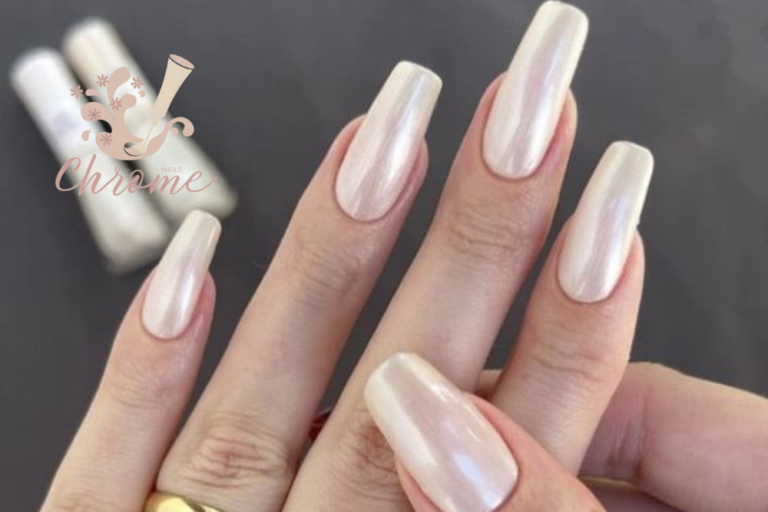
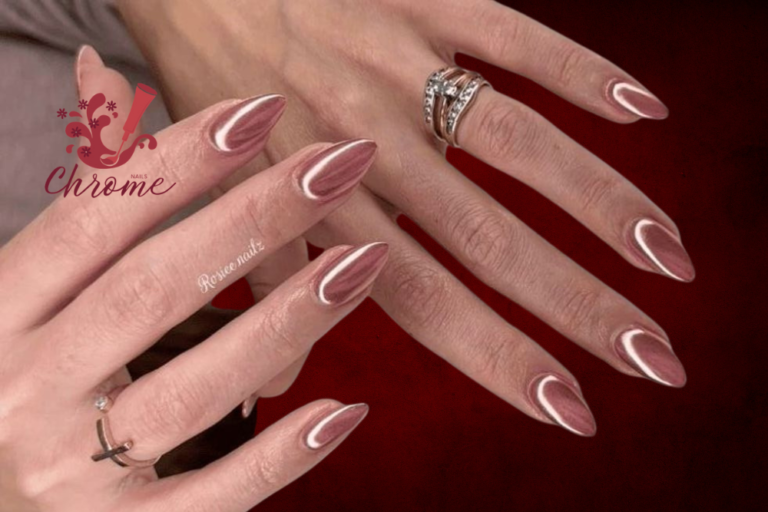
Chrome nails can vary in appearance, from a high-shine metallic finish to more subtle holographic or “glazed donut” effects, depending on the type of powder used. This manicure style has surged in popularity due to its versatility and ability to elevate any look, whether it’s a simple mirror-like finish or a creative design using vibrant colors.
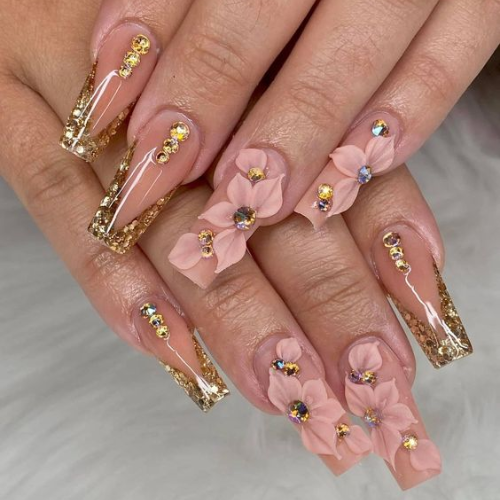
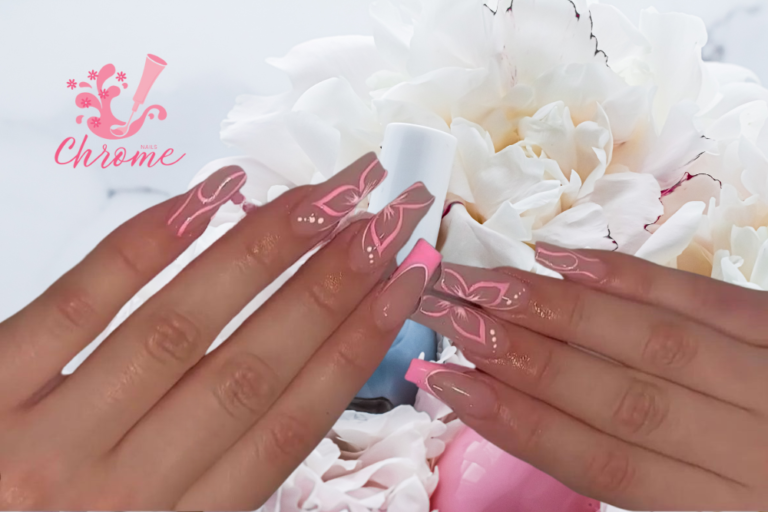
By experimenting with different colors, gels, and application techniques, you can customize your chrome nails for a truly unique and fashionable finish. Perfect for any occasion, chrome nails are a statement of modern nail art, bringing together innovation and beauty in one dazzling look.
How to Perfect Holographic Nails
Holographic nails have taken the nail art world by storm, adding a mesmerizing touch of shimmer and depth to any manicure. Whether you’re preparing for a special event or just want to elevate your everyday look, achieving flawless holographic nails is easier than you might think. This guide will walk you through the steps and tips to help you achieve that stunning, multidimensional effect.
1. Gather Your Tools and Supplies
Before you start, ensure you have all the necessary tools and products:
Holographic Nail Polish: Choose a high-quality holographic polish that provides vibrant color and a strong holographic effect.
Base Coat: A good base coat helps your polish adhere better and prevents staining.
Top Coat: A high-gloss top coat adds shine and longevity to your manicure.
Nail File and Buffer: For shaping and smoothing your nails.
Cuticle Pusher: To prepare your nail bed.
Cleaning Supplies: Cotton pads and nail polish remover for any necessary touch-ups.
2. Prepare Your Nails
Preparation is key to achieving a smooth and beautiful holographic finish. Follow these steps:
Clean Your Nails: Remove any old polish and wash your hands to eliminate oils and debris.
Shape Your Nails: Use a nail file to shape your nails to your desired length and style.
Buff the Surface: Gently buff the surface of your nails to create a smooth canvas for the holographic polish.
Push Back Cuticles: Use a cuticle pusher to gently push back your cuticles for a neat look.
3. Apply a Base Coat
A base coat not only protects your nails but also ensures the polish adheres properly.
Even Layer: Apply a thin, even layer of base coat and let it dry completely before moving on to the holographic polish.
4. Apply Holographic Nail Polish
Now comes the fun part—applying the holographic polish!
Thin Coats: Apply the holographic polish in thin coats. This allows for better coverage and prevents the polish from becoming too thick, which can lead to chipping.
Cure if Gel Polish: If you’re using gel holographic polish, remember to cure each layer under a UV or LED lamp according to the manufacturer’s instructions.
Build Up the Color: Depending on the opacity of the polish, you may need to apply 2-3 coats to achieve your desired look.
5. Seal with a Top Coat
To protect your beautiful holographic design and add shine, seal it with a top coat.
No-Wipe Top Coat: Consider using a no-wipe top coat for a glossy finish without the need for additional cleaning.
Cap the Edges: Ensure you cap the free edges of your nails to prevent chipping and extend the wear of your manicure.
How to Use Chrome Powder
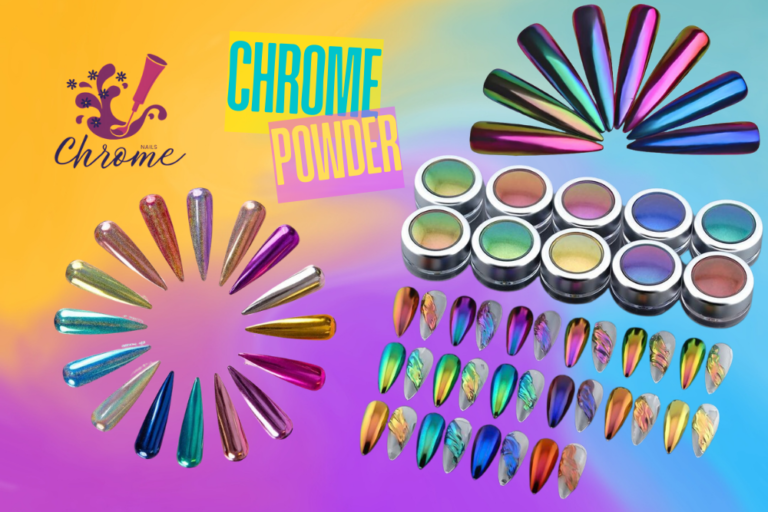
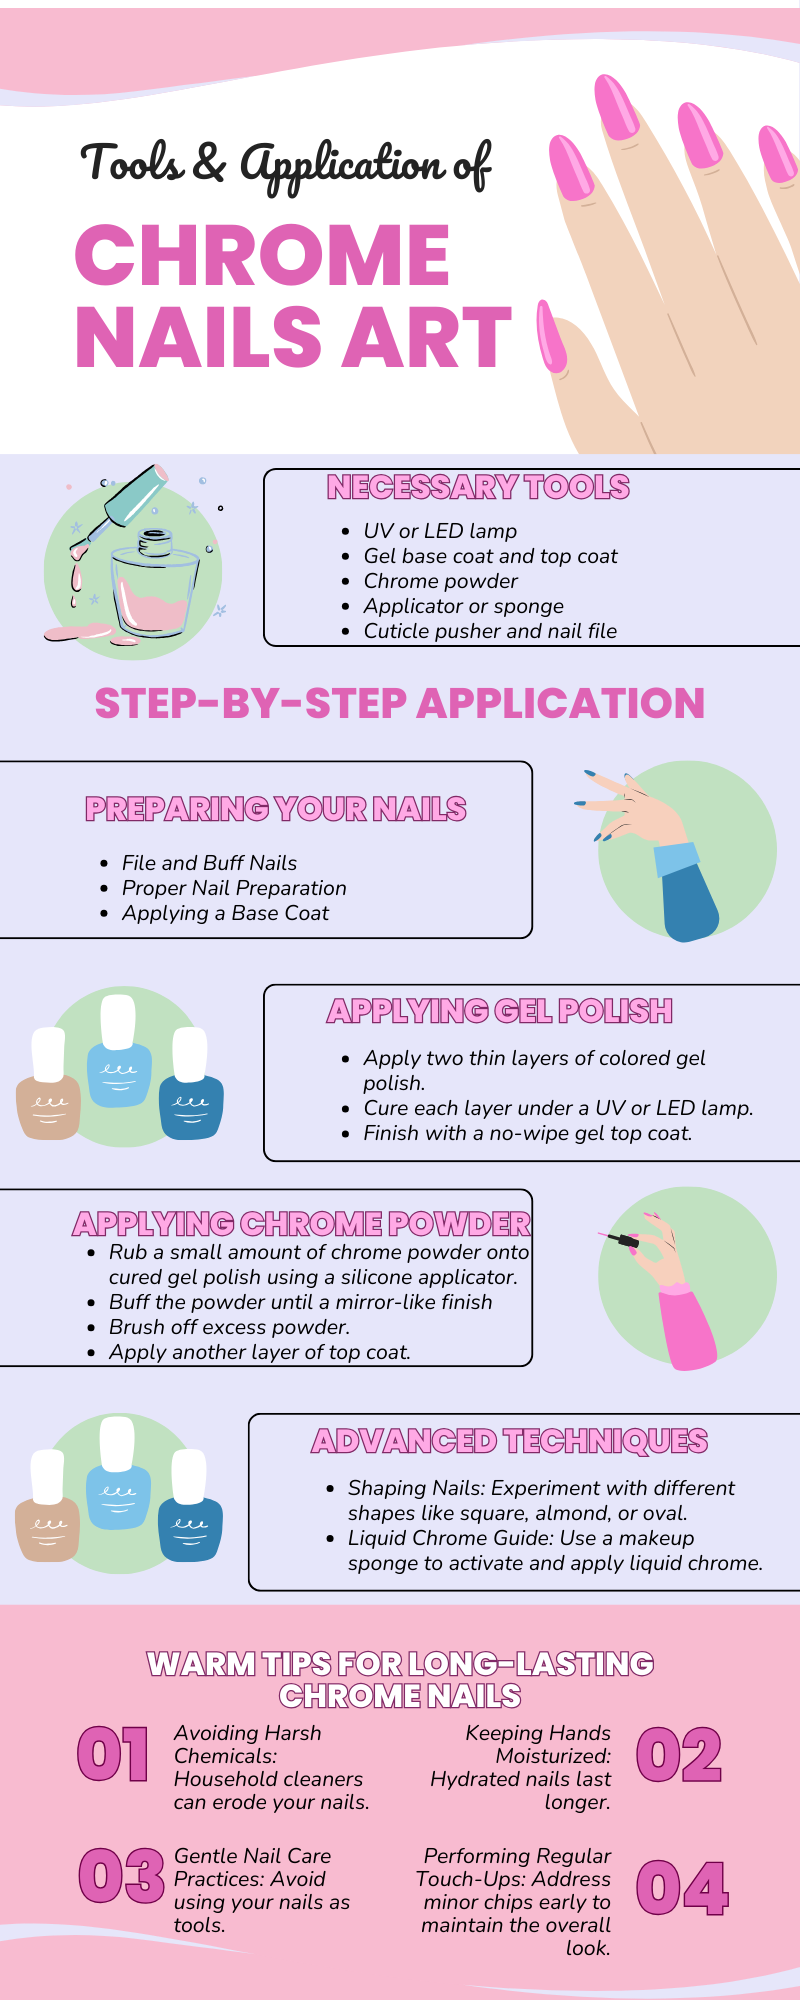
Chrome powder is a game-changer in the world of nail art, offering a mirror-like finish that can elevate your manicure to new heights.
1. Gather Your Supplies
Before you begin, make sure you have all the necessary tools and products at hand:
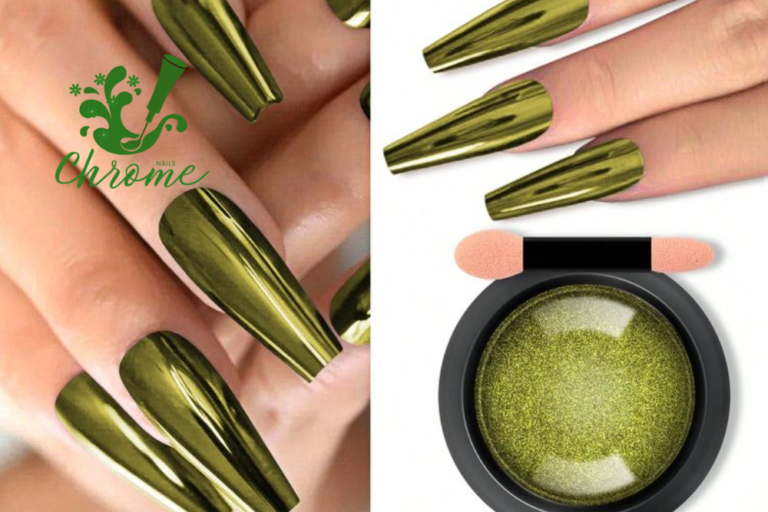
Chrome Powder: Choose a high-quality chrome powder in your desired color.
Base Coat: A good base coat ensures better adhesion and protects your nails.
Gel Polish: A gel polish in a color that complements the chrome powder.
Top Coat: A no-wipe gel top coat provides shine and durability.
Silicone Applicator: Ideal for applying chrome powder smoothly.
UV/LED Lamp: For curing gel polish and top coats.
Nail File and Buffer: For shaping and smoothing your nails.
Cleaning Supplies: Cotton pads and nail polish remover for any necessary touch-ups.
2. Prepare Your Nails
Proper nail preparation is key to achieving a smooth and stunning chrome finish:
Clean Your Nails: Remove any old polish and wash your hands to eliminate oils and debris.
Shape Your Nails: Use a nail file to shape your nails to your desired length and style.
Buff the Surface: Gently buff the surface of your nails to create a smooth canvas for the chrome polish.
Push Back Cuticles: Use a cuticle pusher to gently push back your cuticles for a neat appearance.
3. Apply Base Coat and Cure
A base coat is crucial for a long-lasting manicure:
Apply Base Coat: Apply a thin layer of base coat and cure it under the UV/LED lamp for the recommended time. This step ensures that your chrome powder adheres properly.
4. Apply Gel Polish
Using gel polish as your base color enhances the chrome effect:
Choose Your Color: Pick a gel polish that complements the chrome powder. Darker shades often enhance the chrome effect.
Apply Thin Coats: Apply one or two thin layers of gel polish, curing each layer under the lamp. Thin coats help prevent lifting and ensure an even finish.
5. Apply Chrome Powder
Now comes the exciting part—applying the chrome powder:
Rub the Powder: After curing the gel polish, use a silicone applicator to rub a small amount of chrome powder onto the nail surface in a circular motion. Aim for a mirror-like finish, ensuring even coverage.
Buff the Powder: Continue to buff until you achieve the desired shine. This step is crucial for a flawless chrome effect.
6. Seal with Top Coat
Sealing your chrome nails is essential for durability and shine:
Apply Top Coat: Use a no-wipe gel top coat to seal in the chrome effect. Apply a generous layer and cap the free edges of your nails to prevent chipping.
Cure Again: Cure the top coat under the UV/LED lamp for the recommended time to ensure a strong, glossy finish.
7. Maintenance Tips for Chrome Nails
To keep your chrome nails looking fresh and vibrant, follow these maintenance tips:
Avoid Water: For the first 24 hours, avoid prolonged exposure to water to allow the polish to set properly.
Moisturize: Regularly apply cuticle oil to keep your nails and cuticles hydrated, helping prevent chipping.
Gentle Care: Be gentle with your nails and avoid using them as tools to prevent damage.
8. Removing Chrome Powder
When it’s time to remove your chrome nails, do so safely to avoid damaging your natural nails:
Soak Off Method: Use a cotton pad soaked in acetone and place it on your nail. Wrap it in aluminum foil and let it sit for about 10-15 minutes to break down the polish for easy removal.
By following these steps, you can achieve stunning chrome nails that are sure to impress. With the right techniques and a bit of care, your chrome manicure will shine bright and turn heads. Happy polishing!
- 60+ Almond Nail Designs: Expert Shaping, Artful Designs, Color Trends, and Seasonal
- 50 Classy Short Nail Designs: Stylish Looks for Every Occasion
- How to Rock Beige Nails: Styles, Combos, and Expert Tips
- 65 Black French Tip Nails: Must-Try Designs for a Chic Finish
- 45 Brown Chrome Nails: The Ultimate Guide for Fall 2024
- 64 Western Nail Ideas for Rustic Elegance in the Modern Cowgirl
Salon vs. Home Application of Chrome Nails
| Aspect | Salon Application | Home Application |
|---|
| Expertise Level | Performed by trained nail technicians. | Can be done by beginners or enthusiasts with practice. |
| Tools and Equipment | Professional-grade tools, high-quality UV/LED lamps, specialized powders and gels. | Requires basic tools like UV/LED lamp, chrome powder, top coat, and applicator. |
| Application Technique | Flawless, consistent application with advanced techniques. | Learning curve involved; minor trial and error may occur. |
| Time Efficiency | Typically faster due to experience and equipment. | May take more time, especially for beginners. |
| Customization Options | Wide range of chrome powders, colors, and designs. | Limited to the powders and materials you have at home. |
| Cost | Higher cost due to professional service and premium products. | More affordable as you only need to invest in materials and equipment. |
| Durability of Finish | Often more durable due to professional-quality products and precise technique. | Durability can vary depending on the quality of products used and application skills. |
| Common Mistakes | Less likely due to experience. | Patchiness, smudging, or uneven chrome powder application can occur. |
| Maintenance | Regular touch-ups or maintenance handled by professionals. | Requires DIY maintenance, including touch-ups if chipping occurs. |
| Convenience | Requires appointment booking and travel to salon. | Can be done at home at any time, offering more flexibility. |
How to Make Chrome Nails Last Longer
- Prep Your Nails: Clean, dry, and shape your nails. Push back cuticles for a smooth base.
- Use a Quality Base Coat: Apply a strong base coat to help the chrome powder adhere better.
- Apply Gel Polish: Use two thin coats of gel polish, curing each under a UV/LED lamp for durability.
- Rub in Chrome Powder: Gently rub the chrome powder onto the nails for a mirror-like shine, ensuring even coverage.
- Seal with a Top Coat: Use a no-wipe gel top coat, applying two layers to protect and prevent chipping.
- Avoid Water & Chemicals: Keep nails dry for 24 hours and wear gloves during chores.
- Maintain Regularly: Apply cuticle oil daily and touch up any chips to keep nails fresh.
- Proper Removal: Soak nails in acetone instead of peeling or picking to protect your natural nails.
1. How to do chrome on gel nails?
To do chrome on gel nails, first apply a base coat and cure it under a UV/LED lamp. Then, apply two thin layers of gel polish, curing each layer. Afterward, rub chrome powder onto the nails using a sponge applicator until you get a mirror-like finish. Seal it with a top coat and cure again.
2. Can you put chrome on regular nails?
Yes, you can apply chrome powder to regular nails, but it works best with gel polish because it adheres better and lasts longer. For regular nail polish, the effect may not be as smooth or long-lasting.
3. Are chrome nails gel or powder?
Chrome nails are created using chrome powder applied over gel polish. The powder gives the nails a shiny, mirror-like finish, while the gel polish acts as the base.
4. How much are chrome nails?
The cost of chrome nails can vary depending on the salon and location. On average, chrome nails range from $30 to $60, but high-end salons may charge more.
5. How to remove chrome from nails?
To remove chrome nails, soak your nails in acetone for 10-15 minutes. Then gently use a nail tool to remove the softened gel and chrome powder. Avoid peeling or picking to prevent damage to your natural nails.
